Charts are created in Macrobond Analysis, our desktop application designed to turn data into insight. From version 1.32 onward, Macrobond Analysis includes Variables - interactive features that enhance your charts and create a richer, more engaging experience for your audience.
To explore the full Macrobond Analysis workflow and make the most of these capabilities, consult the Macrobond Analysis user guides, where you’ll find step-by-step guidance and best practices.
How to build a chart with interactive features?
Below, you’ll find a step-by-step walkthrough that shows these features in action. For a deeper dive into Variables and how they work, see the Interactive Variables article.
You can also watch our video tutorial, which walks through this feature end to end and shows how to apply it in practice. (please note access to the video is behind an Allego Login)
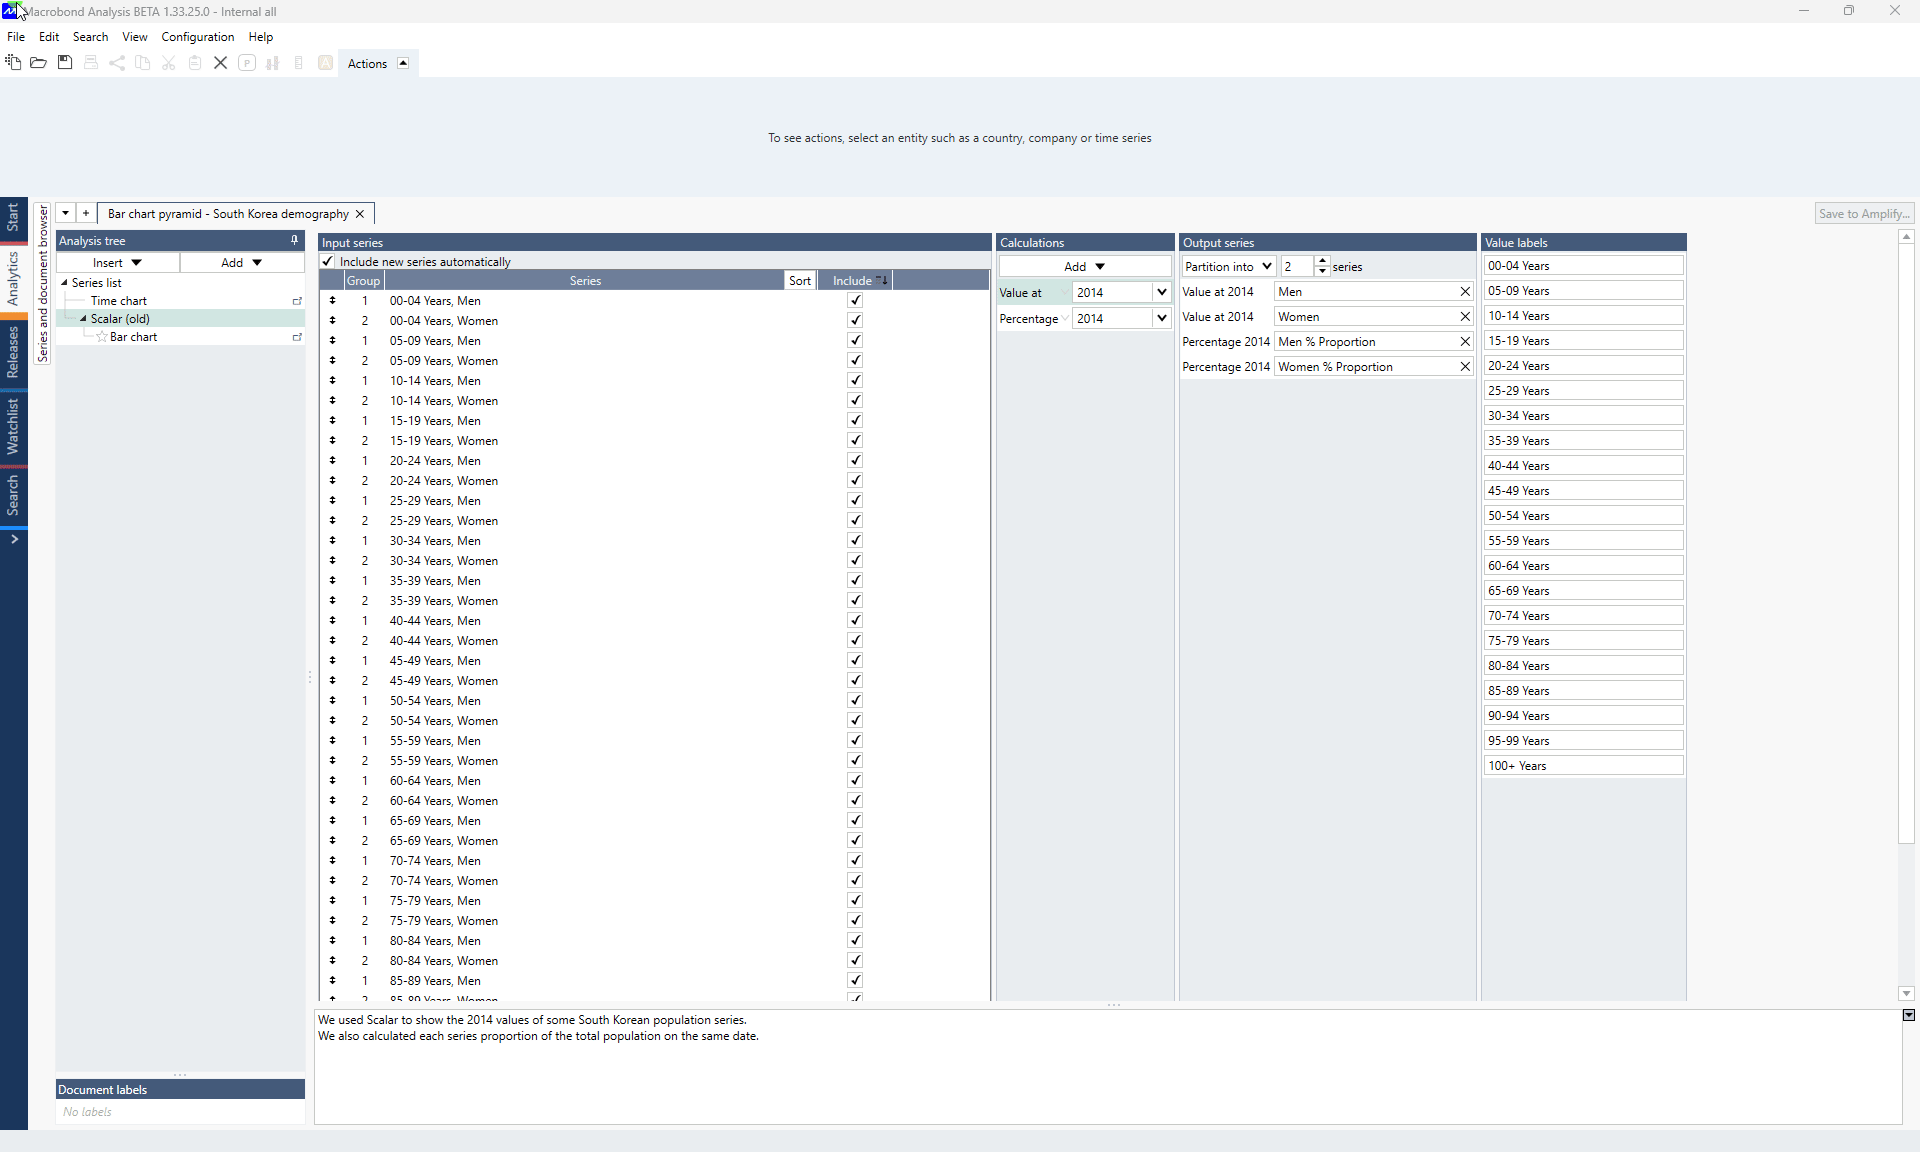
- Open the chart from the Macrobond chart library: Macrobond chart library : 3. Feature Examples/Chart Types/Bar Charts/Bar chart pyramid - South Korea demography
- Navigate to Scalar analysis
- In the Calculations section, click the grey arrow next to 'Value at'.
- Select ‘+ Create new variable’.
- Enable the Constrain option and set the range to Min: 1950 and Max: 2025.
- Click OK to confirm.
- In the Calculations section, click the grey arrow next to Percentage and apply the newly created Point in Time variable.
- Switch to the Bar chart view. In the Actions ribbon, open the Interactive properties panel and enable Point in Time.
Note that the chart’s comment section will appear directly beneath the title of the published Asset in Macrobond Amplify, providing additional context for your audience.
When your chart is ready, select 'Save to Amplify' to continue. The Save to Amplify window will open, allowing you to prepare your chart for publishing.

‘Save to Amplify’ settings

- Target location lets you choose from the directories available to you - Personal, Department, or Company account. Charts saved here will appear in Macrobond Amplify and are kept separate from your Macrobond Analysis chart storage. In the lower section, you can easily see what is saved under each account or folder.
- Chart Title.
- Publish profile lets you define the chart size used when publishing. You can keep the current chart size (No profile), select a previously created profile from the drop-down menu, or create a new profile to suit your needs.
Note that this option is available for Bar charts only when the chart is set to Mode: Fill.
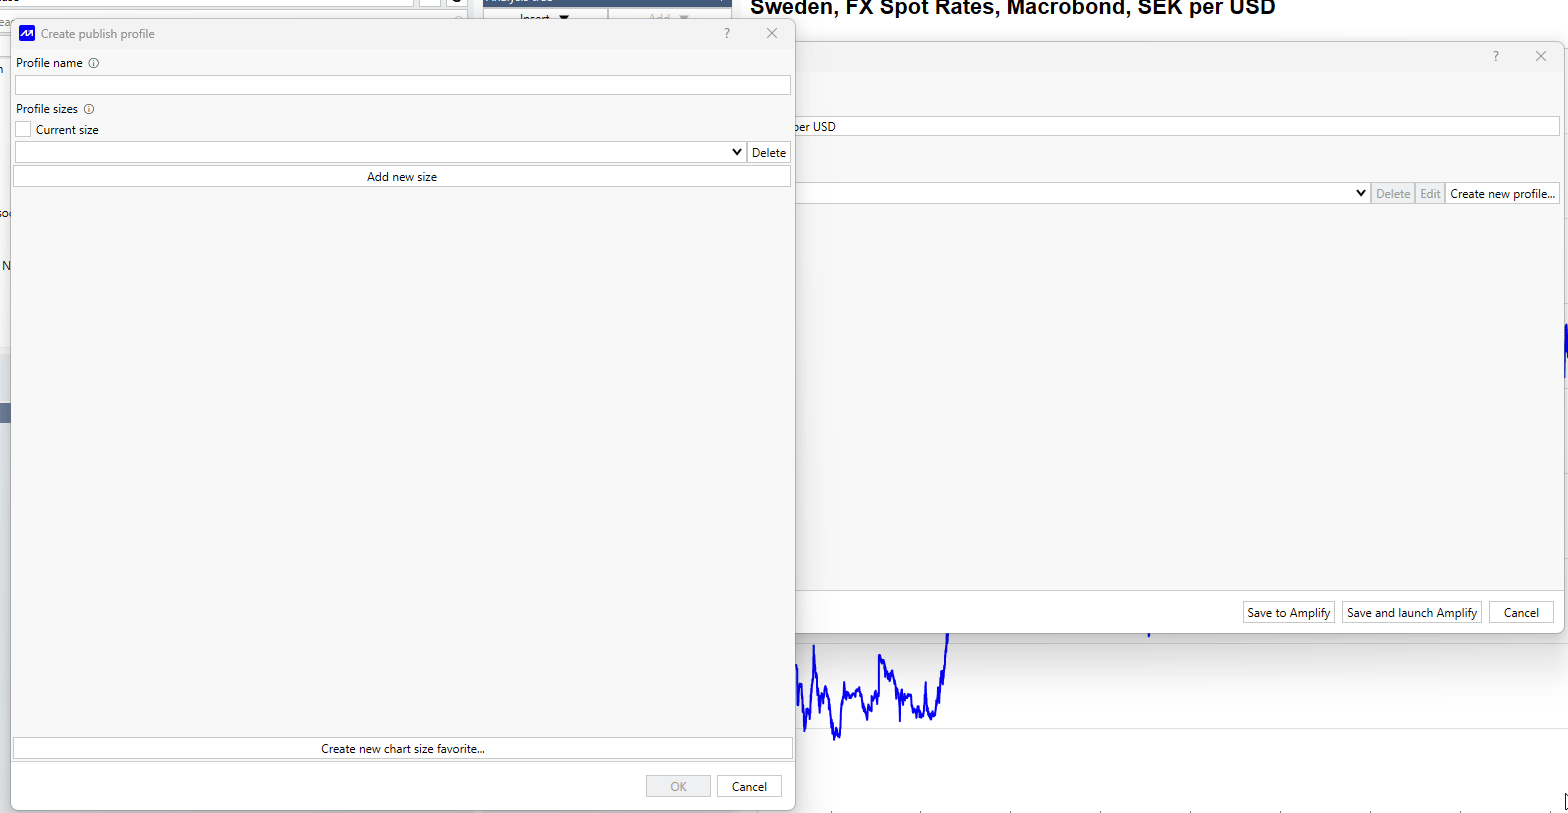
Create new profile
To create a profile, you need saved chart size. This can be:
- the current chart size;
- previously saved size (available under View chart size);
- a new size, which you can create using ‘Create new chart size favorite’ at the bottom of panel.
Once you’ve selected the size, enter a Profile name and click OK to save it.
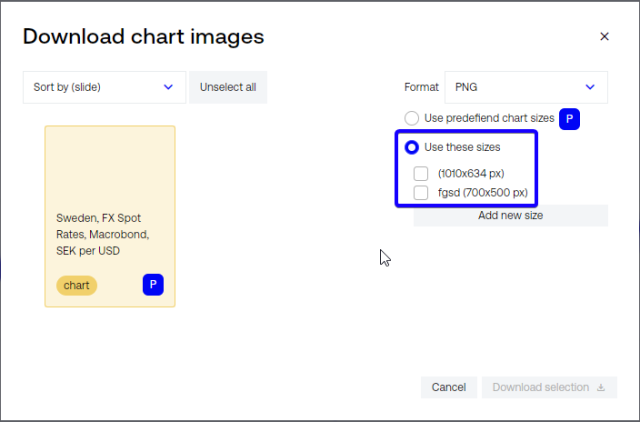
Multiple sizes
You can add more than one chart size to a profile. After applying the profile, your chart will be available in all defined sizes.
All sizes included in the publish profile will be available in Macrobond Amplify during or after publication under Download CMS image. These sizes can be used when creating content for channels such as web pages, PDFs, and emails.
Send chart to Amplify
After selecting a publish profile, choose Save to Amplify or Save and launch Amplify. The second option will automatically open Macrobond Amplify in your browser. For the next step, see Publishing charts from Macrobond Analysis.